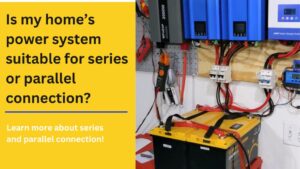
EU Stock EnjoyCool Link is On Sale with $400 off!
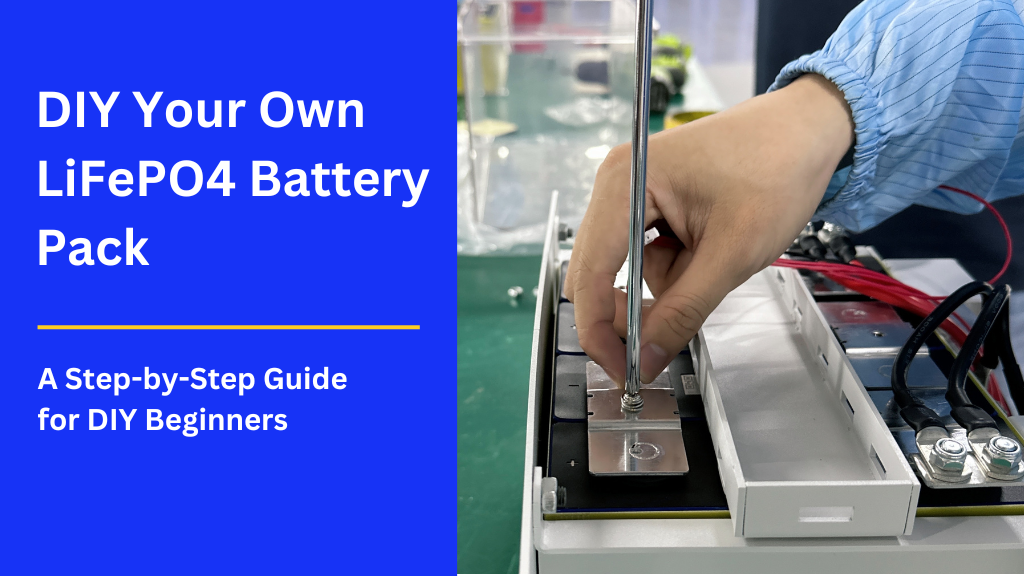
DIY Your Own LiFePO4 Battery Pack: A Step-by-Step Guide for Beginners
Lithium iron phosphate (LiFePO4) batteries are known for their safety, longevity and stable voltage. With a bit of know-how and some basic tools and supplies, you can build your own LiFePO4 battery pack at home to power electronics projects or have a backup power source.
Material List
Main materials:
- LFP cells with several capacitors of the same voltage
- With balance lead ports
- Screws, bolts, nuts
- A wooden or plastic box suitable for battery size
- Cell balance board
- Battery management system(BMS)
- Wires and cables
- Input/output connectors
- Voltmeter
- Soldering iron
- Wire strippers, Drill, Screwdrivers, Wrenches
- Insulating mat
Other:
- Safety glasses
- Hand gloves
- Fire extinguisher
Assembly steps
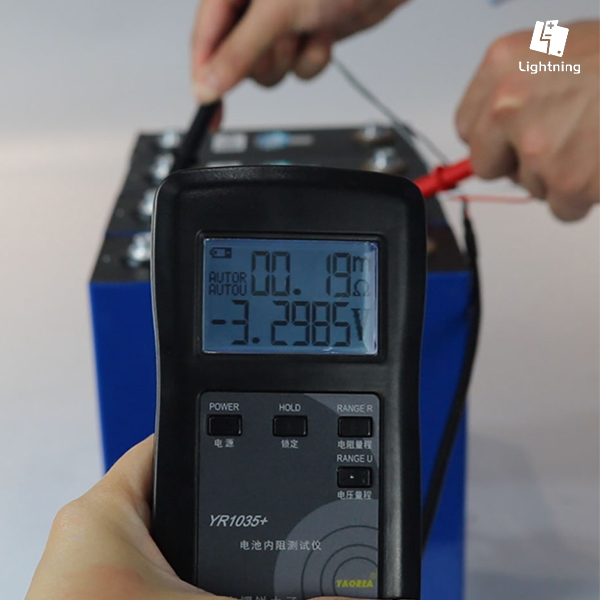
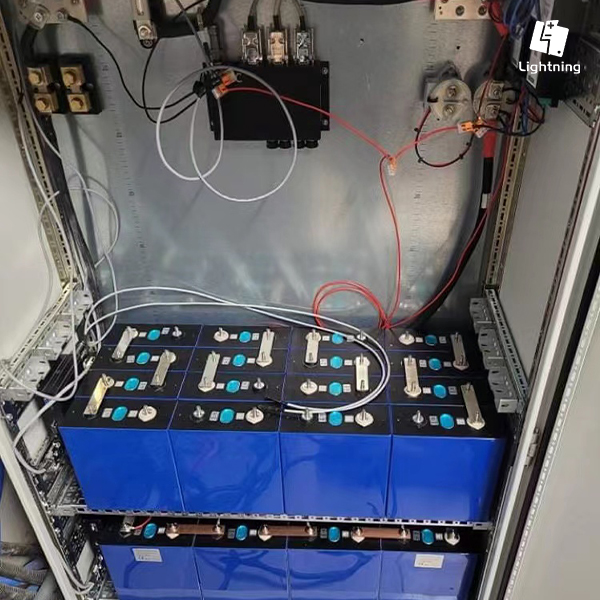
Step 1. Choose the appropriate LiFePO4 battery. A battery with a capacity of 100Ah or higher works best. Before use, test its voltage and battery status to ensure that the batteries can be safely paralleled and perform at their best.
Step 2. You’ll need a battery housing to contain the cells. A wood or acrylic box with ventilation is a simple option. Drill holes to run wires and mount the batteries securely.
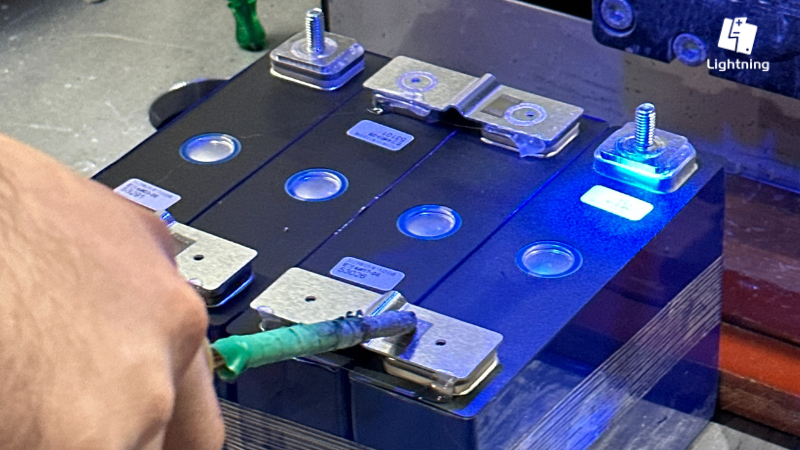
Step 3. Connect the cells in parallel using bus bars and wire joins to increase current capacity. Paralleling cells requires matching voltage and capacity for optimal performance.
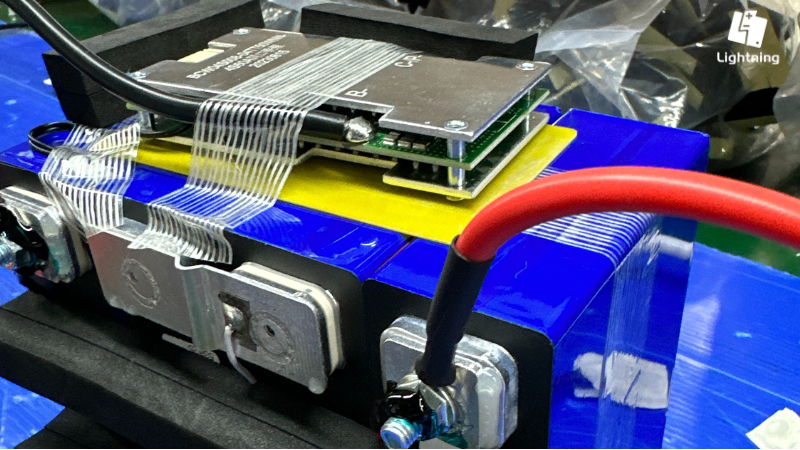
Step 4. Add a battery balancing board or circuit to the balance leads. This ensures all cells remain balanced during charging and discharging to maximize life and performance.
Step 5. A battery management system (BMS) is essential for safety. BMS units protect against overcharge, over-discharge, short circuits and more.
*Optional additions include a battery monitor panel with voltmeter and LED indicators to monitor charge levels, check for faults and plan usage.
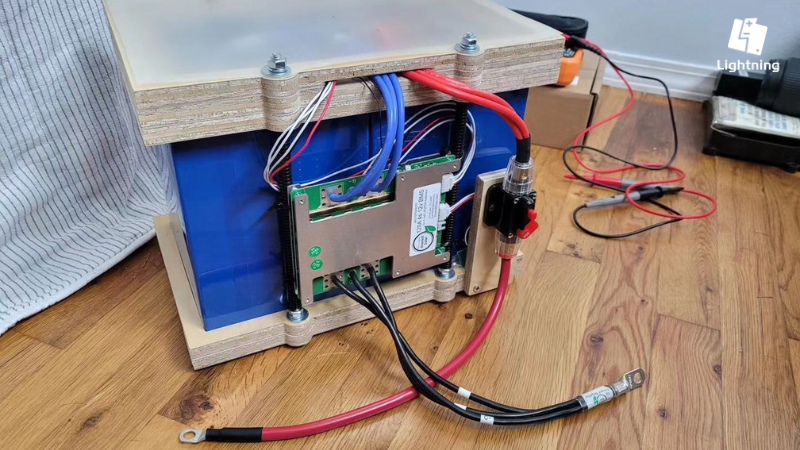
Step 6. Wiring input and output ports to the BMS allows you to charge the pack and provide power to devices. Being thorough with wire gauges based on current levels is important for safety and performance.
Step 7. Test the pack thoroughly after assembly for voltage, resistance and current before charging. A full balanced charging cycle activates the cells for optimal performance.
Matters Needing attention
Here are 3 key precautions for building a DIY LiFePO4 battery pack:
- Wear protective equipment like gloves, glasses and closed toe shoes during assembly and use as much as possible. Lithium ion batteries can cause burns and eye injuries.
- Use appropriately sized wires and cables based on the current capacity of your cells. Undersized wires pose a fire risk.
- Install a battery management system to protect against overcurrent, overcharging, and short circuits. A BMS is critical for safe operation.
With these basic steps and some patience for soldering and wiring, you’ll be on your way to an effective and long-lasting LiFePO4 battery pack to power your projects for years to come.
*All pictures in the article are taken from the factory or provided by Lightning customers